Neil
Fellow
The design on the Slimline stylus has changed. It used to be that the stylus top unscrewed from the section that fitted inside the top of the 7mm tube, which was then inserted through the ring in the clip and thereafter the stylus was screwed back on. The design appears to have changed so that the stylus is part of the complete unit which does not unscrew. There is a ring which unscrews but this seems to allow replacement of the soft stylus only and does not appear to be useful for assembly. So, problem, how do you assemble it without crushing the stylus?
The Sierra has a small tube supplied, so along those lines I tried a piece of 8mm tube to start with and it worked, but after about three or four pens, the brass tube started to collapse. Back to the drawing board, and I drilled a 7mm hole in a piece of hardwood and recessed the stylus into it. Aain worked for a couple of pens but the wood around the hole collapsed as the point loading of the half a mill of wood was quite severe.
Finally got a long term solution which was to take one of the centrebands (which I discard in favour of a streamline centreband anyway) and drilled a very shallow 3/8 hole in a piece of oak. The 3/8 is just the right size, and thereafter used a 7mm drill to deepen the centre of the hole slightly so that the stylus wouldn't get crushed.
One of the problems with assembling the pen was that to align the pen, holding the upper barrel, the clip, the stylus insert and making sure that it was all in line was a bit of a nightmare if you have thick arthritic fingers. Using this block of wood with the hole drilled at the height of the centre of the piston, is that it holds the stylus in place unsupported giving you an extra hand as such.
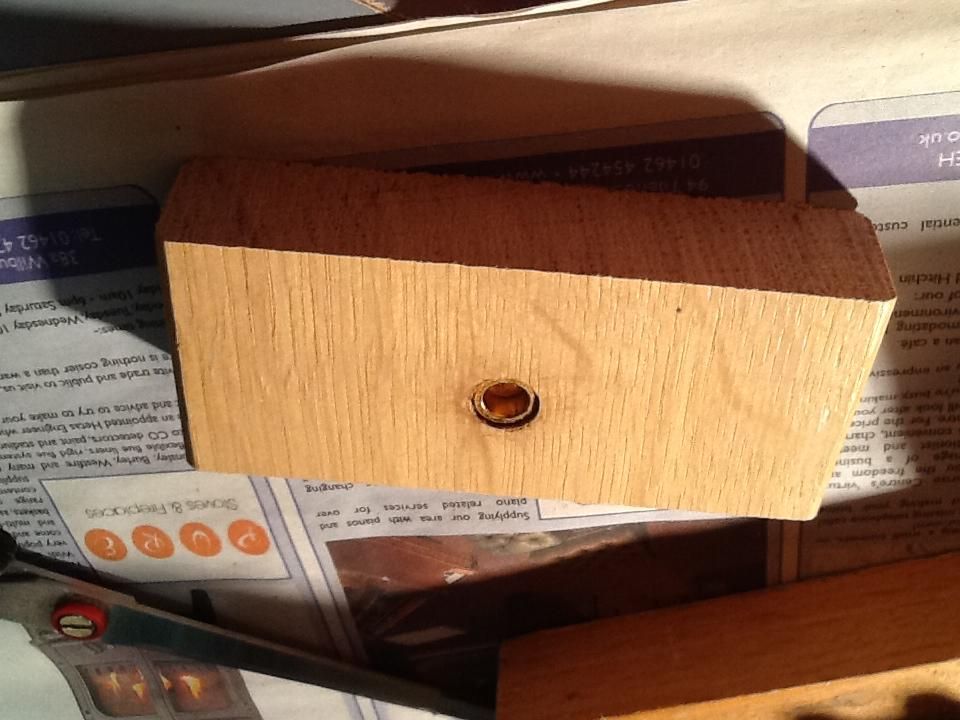
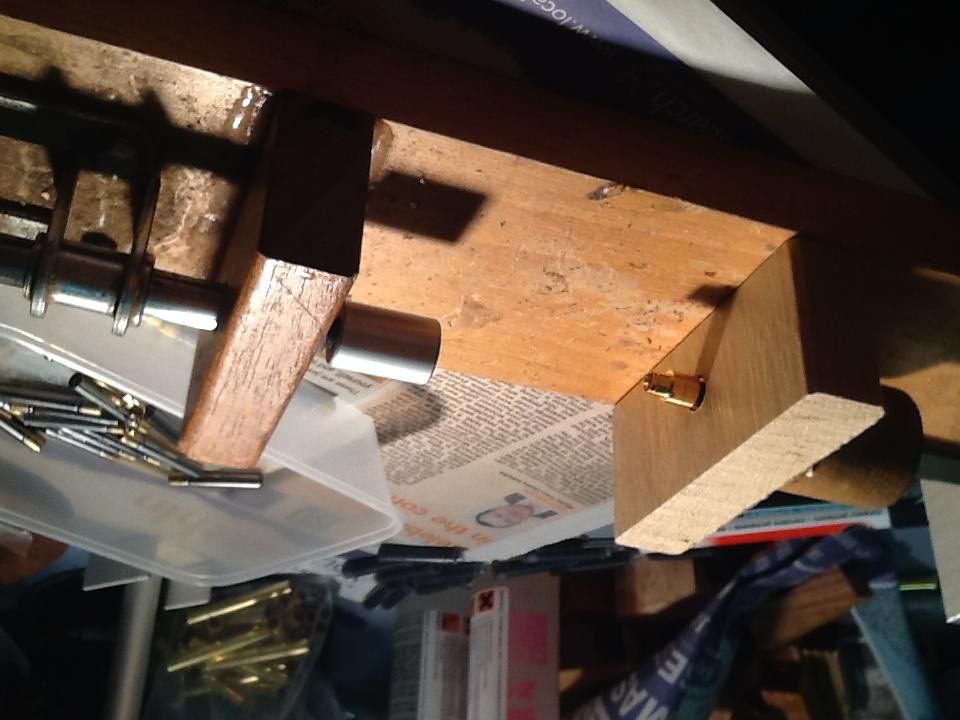
The stylus has been inserted into the centreband in the wood and is held allowing you to offer up the other componets without doing a juggling act!
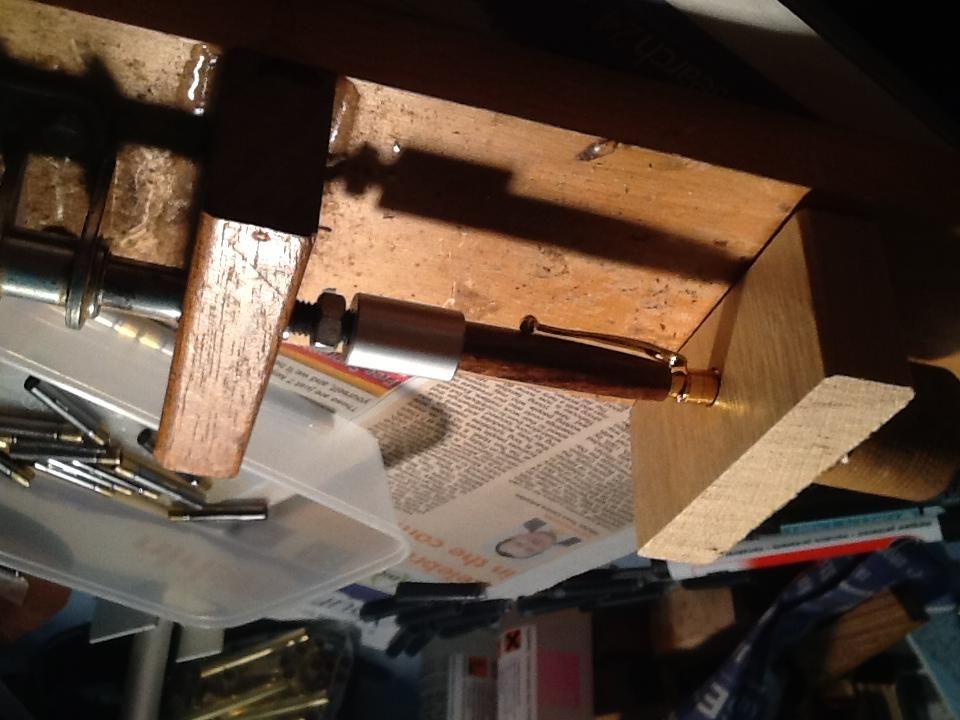
In the photo above there is another block of oak that is glued to the base through which the piston passes. I put this in after the piston started to bow upwards when I needed to put extra presure on the components. This ensures that the presure is applied in a straight line.


