Posted up in response to Paul`s thread I appreciated that folks wont have all the tools shown in the pictures but it`s quite easy to utilise other tools to do the same job. I designed my build so as to use the tools I had at the time, this bench is about 3 years old & as my machines have changed in the meantime I wouldn`t go about making it in the same way if I was to make another tomorrow, this is just to show how I went about making a bench.
I made the top & leg frame work in tandem, whilst one was in clamps I was working on the other, but for clarity I will start by showing the build of the leg frame work.
This first picture shows the end frames ready to be glued up, Made from pine to keep the price down the shoulder cut of the tenons were cut on a radial arm saw & the cheeks cut on the bandsaw. The mortises were cut on a mortiser but could easily have been cut with a router & the corners squared up with a chisel.
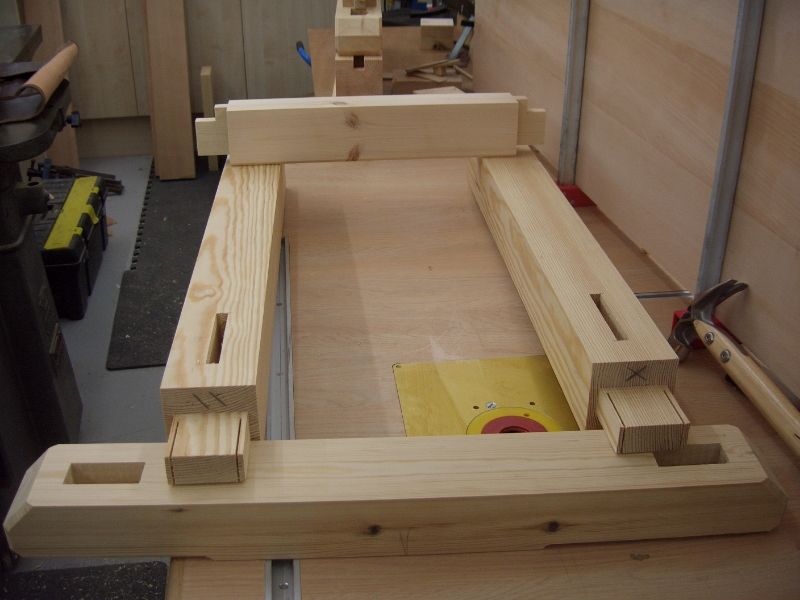
Through tenons were used on the legs with wedges knocked in for added security.

The tenons were also pegged with dowels & the corners of the pine eased with a 45 degree router cutter.
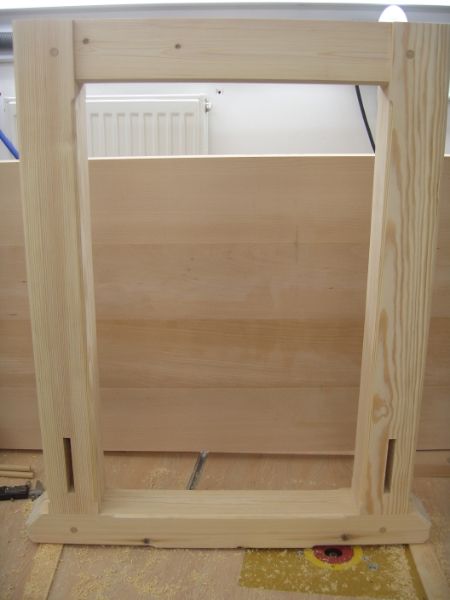
Top & bottom rails were mortised & tenoned into the end frames, glued & clamped.
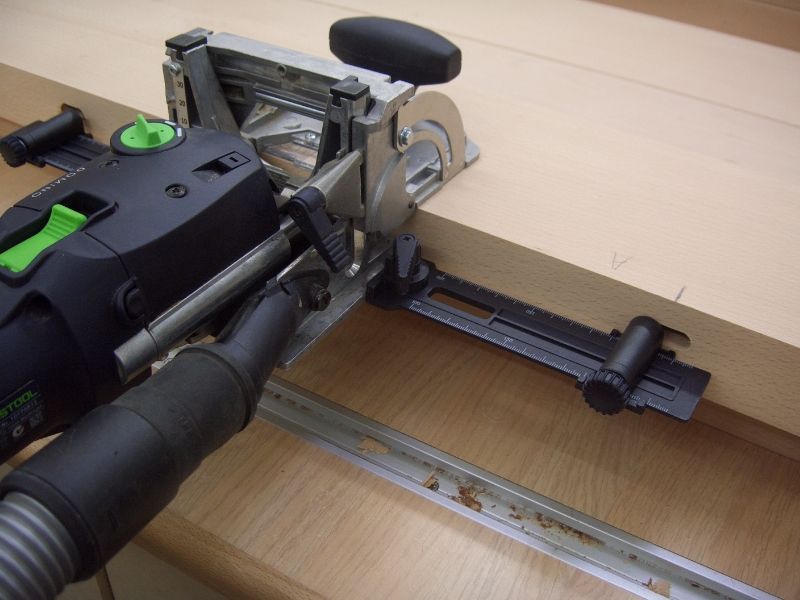
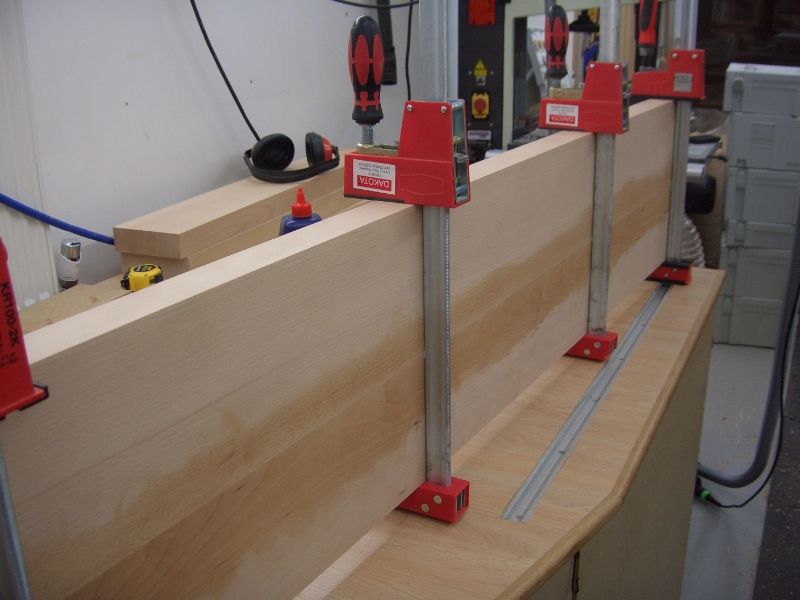
The top was made from 2" Beech, 4 pieces glued together & reinforced with dominos, biscuits would also have worked or indeed just a rubbed joint, though using some sort of biscuit or domino makes alignment much easier.
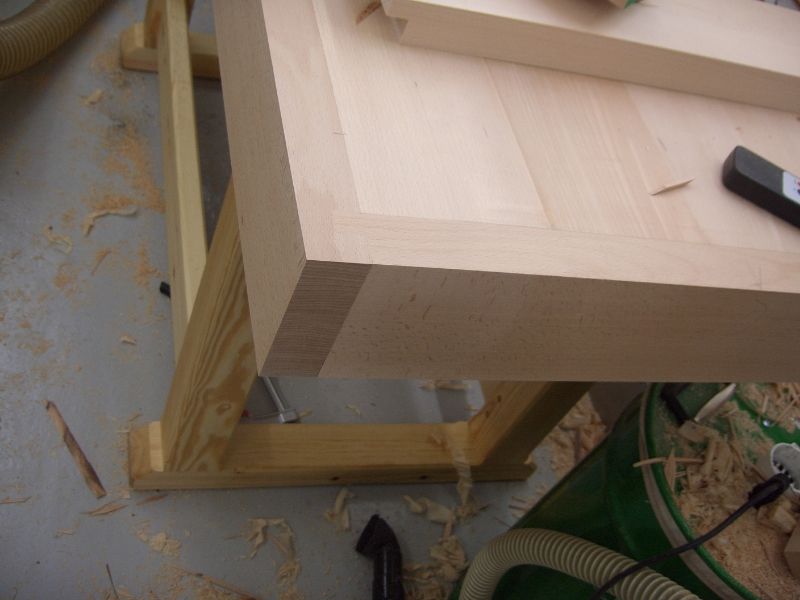
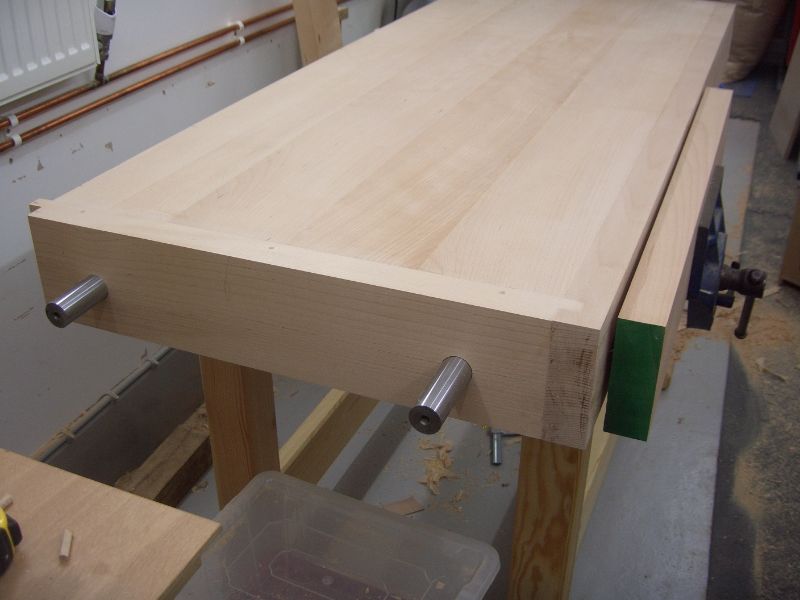
The front aprons were also held on with dominos but the end aprons were housed on a breadboard end.

These ends were not glued on merely held in place with dowels through the top & also through the front aprons, these dowels also give added strength as a tail vice was fitted.
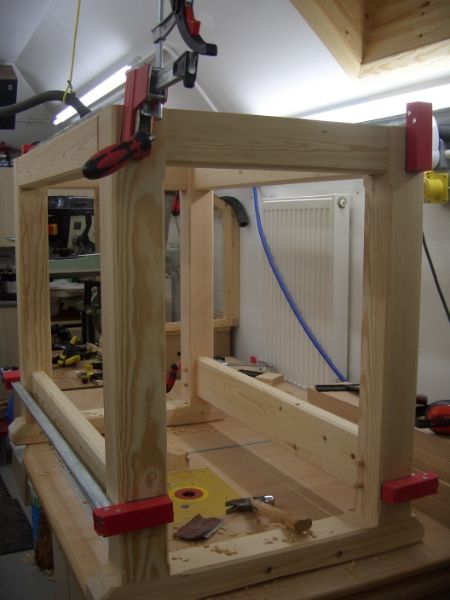
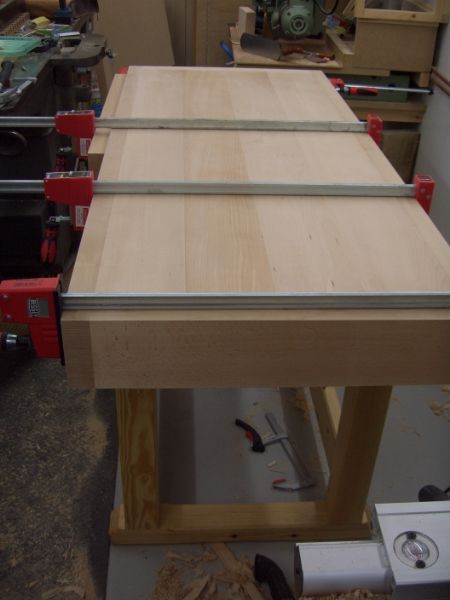
This photo shows the front aprons being glued & clamped in place.
The vices were added, the tail vice being a concoction of an old Record quick release vice & a couple of steel bars to prevent racking.
The final job before oiling was to skim the surface of the top to ensure it was flat, this was done with a router in a shop made jig supported on 2 battens clamped to the sides of the bench.
I made the top & leg frame work in tandem, whilst one was in clamps I was working on the other, but for clarity I will start by showing the build of the leg frame work.
This first picture shows the end frames ready to be glued up, Made from pine to keep the price down the shoulder cut of the tenons were cut on a radial arm saw & the cheeks cut on the bandsaw. The mortises were cut on a mortiser but could easily have been cut with a router & the corners squared up with a chisel.

Through tenons were used on the legs with wedges knocked in for added security.

The tenons were also pegged with dowels & the corners of the pine eased with a 45 degree router cutter.

Top & bottom rails were mortised & tenoned into the end frames, glued & clamped.

The top was made from 2" Beech, 4 pieces glued together & reinforced with dominos, biscuits would also have worked or indeed just a rubbed joint, though using some sort of biscuit or domino makes alignment much easier.


The front aprons were also held on with dominos but the end aprons were housed on a breadboard end.

These ends were not glued on merely held in place with dowels through the top & also through the front aprons, these dowels also give added strength as a tail vice was fitted.

This photo shows the front aprons being glued & clamped in place.

The vices were added, the tail vice being a concoction of an old Record quick release vice & a couple of steel bars to prevent racking.

The final job before oiling was to skim the surface of the top to ensure it was flat, this was done with a router in a shop made jig supported on 2 battens clamped to the sides of the bench.


 .
.