• Thanks for visiting The Penturners Forum today.

    There are many features and resources that currently you are unable to see or access, either because you're not yet registered, or if you're already registered, because you're not logged in.

    To gain full access to the forum, please log in or register now. Registration is completely free, it only takes a few seconds, and you can join our well established community of like-minded pen makers.

Bentwood Ring - The Journey begins

Jim

Grand Master
Joined
Oct 19, 2011
Posts
15,617
You can't do things like this David, it just isn't right ... The suspense is killing me .. :ciggrin:
 

Jimjam66

Chief Battonager
Registered
Joined
Jan 27, 2013
Posts
3,775
Location
Basingstoke, Hampshire
Bentwood ring - some progress

First, the drawing of what I am aiming to achieve in case my 'word picture didn't make sense:
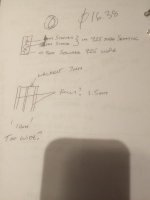
IMG_1500.jpg

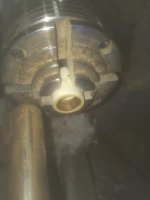
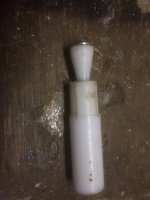
And a pic of the mandrel I made up to hold the ring in the lathe chuck (made out of acetal):
IMG_1502.jpg

I threaded the mandrel (M6x1) and turned a cone to squeeze the 'jaws' outward to hold the ring.

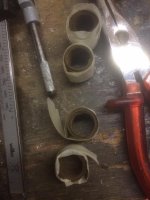
So, after boiling the walnut strips I wrapped them over a round rod, secured them with masking tape (because it was to hand) and left them to get used to their new shape:
IMG_1501.jpg

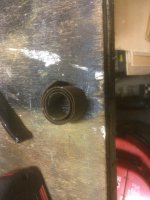
After a few days when I peeled the masking tape off they popped out a bit but mostly held their pigtail shape BUT ... they were still wet:
IMG_1505.jpg

Since I was going to use CA I didn't want any moisture left in the timber so I blasted them with a hot air gun - as the heat hit them they straightened noticeably, but the moisture disappeared pretty quickly given how thin they are. Now for the fun bit - wrapping and gluing. There is a trick to this bit, and when I find out what it is I'll share it with you!

:whistling::whistling:

Basically you are trying to wrap a strip of timber that is resisting you around a mandrel sized to about a millimetre smaller diameter than your eventual ring size. First, I learned the hard way that it was best to first wrap a strip of masking tape around the mandrel or you just glue the ring to the mandrel.

:duh:

Second, you need to lay a bead of glue along the outside edge of the inner 'tail', the bit that will be underneath as you complete the first wrap. Then you need to keep everything tight down on the mandrel as you make that wrap WITHOUT sticking your finger into the bead of glue ... !!! Simples ... Anyway, once the first wrap is down it gets easier, keep coating the inner surface with glue and wrapping until the entire strip is wrapped. I did leave bits of nitrile glove behind quite frequently, so I had to keep grabbing a sanding block to remove them before they got incorporated into the ring.

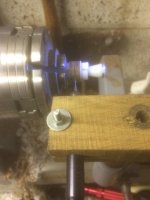
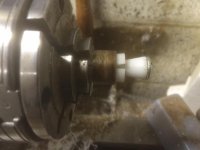
I then left the glue to dry, removed the ring from the mandrel and mounted it to the expanding mandrel for trimming and sanding on the lathe:
IMG_1506.jpg

For internal sanding I used the Dremel:
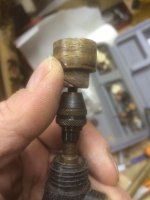
IMG_1507.jpg

You can still see the laminations looking sideways on:
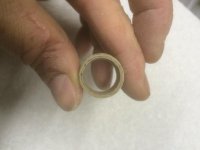
IMG_1508.jpg

Next step is to add the holly sandwich to each side:
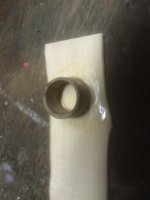
IMG_1509.jpg

And that's where I am at the minute.
 

paulm

grave manibus faciendum
Registered
Joined
Oct 7, 2013
Posts
12,046
Location
Sandford
First Name
Paul
Thats very interesting David and very informative. :thumbs:
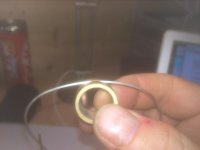
Bring on episode 3.
 

Incognitouk

Full Member
Joined
Aug 29, 2013
Posts
86
Location
California
Ive made quite a few of these and its nice to see someone else trying their hand at it, i have smiled at the story so far and also chuckled as i recall doing some similar things lol

if you get stuck anywhere (and i dont mean literally) give me a poke and ill stick my pennies worth of knowledge in here follows a few examples of some of the rings ive done in the past

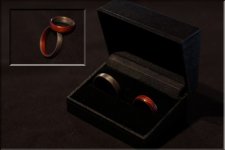
First is a his and hers padauk and silver ash reversed matching set
Padauk and Silver Ash matching reverse set boxed 1.jpg

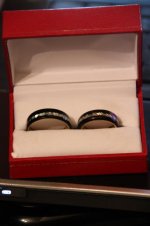
next is a another matching set ebony and mother of pearl with a sycamore inlay (these i made for my own wedding yeah yeah i hear you saying making your own wedding rings cheap skate :P) sorry about the poor quality picture
IMG_2476.jpg

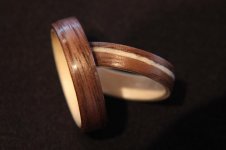
next are sycamore and walnut, one has a sycamore inlay
IMG_1210.jpg

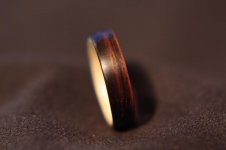
sycamore and ebony
IMG_1238.jpg

another sycamore and ebony
IMG_1244.jpg

i could post a lot more but i think i have hijacked this thread enough :)
i hope i got the pics in the right order LOL
 

Attachments

  • IMG_1345.jpg
    IMG_1345.jpg
    19.8 KB · Views: 85

Jimjam66

Chief Battonager
Registered
Joined
Jan 27, 2013
Posts
3,775
Location
Basingstoke, Hampshire
Well that's me well and truly put in my place! Lovely work there, hopefully I can eventually emulate some of them!

As a matter of interest how long a length of veneer do you use on a ring? And what thickness is the veneer?
 

Incognitouk

Full Member
Joined
Aug 29, 2013
Posts
86
Location
California
David this is something i spent a long time trying to get right, i started off with a 0.6mm thickness, but found that even that was to thick, and didnt want to invest in an expensive thickness machine so i made a gadget to go across the lathe bed which i could raise up and down and made a sanding wheel for the chuck (homemade thicknesser) so i could run the veneer down to about 0.4mm sometimes thinner depending on what type of veneer i was using, once dampened and a bit of heat applied this bent like a dream, as for length i would always use about 12" and then just trim it down to where i wanted it to be.
 

Jimjam66

Chief Battonager
Registered
Joined
Jan 27, 2013
Posts
3,775
Location
Basingstoke, Hampshire
Well, I got some more done - unfortunately a case of 'two steps forward and one step back' as you will see.

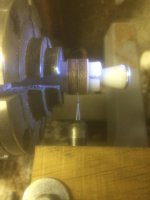
First, finished the holly sides. Then I wrapped the ring in a number of turns of masking tape and mounted it in the chuck jaws to finish the inside:

IMG_1524.jpg

I applied about eight coats of CA with the lathe spinning at 350rpm. This decreased the inside diameter by about 0.1mm which I can polish out toward the end of the journey.

Then I mounted the ring to the mandrel and applied about eight coats of CA to the outside, again with the lathe spinning slowly. Once that dried, I mounted my Dremel holder in the banjo with a 0.8mm end mill to cut the groove for the silver wire:

IMG_1525.jpg

IMG_1526.jpg

And that's where I took the backward step! Again, there is no fine adjustment to the banjo, so I cut the groove about 0.4mm too deep - the silver wire is actually under the surface of the groove!

IMG_1540.jpg

So somehow I have to raise the floor of the groove slightly to allow the wire to be slightly proud of the surface so I can sand it back to flush. Any ideas?

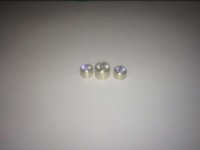
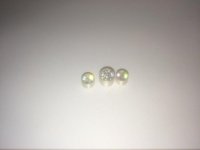
Anyhow, while that is on hold I started on mounting the stones in their tube settings. Here are the three setting with the stones loosely seated:

IMG_1534.jpg

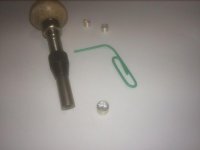
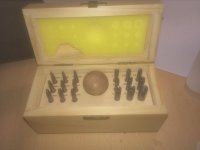
With the tube sitting on a hard surface, the edges of the setting where they are proud of the stone's 'pavilion' (widest part of the skirt) are gently flattened inwards over the edges of the stone to grip it firmly. This is done with a Bevel Setting punch of the correct size:

IMG_1535.jpg

IMG_1536.jpg

The next photo shows the settings after bevelling, with the top fraction of a millimetre of the setting now sloping inward at 45 degrees and burnished by rotating the bevel punch while firmly pressed against it:

IMG_1538.jpg

I have to say that a 10x loupe was of immense help with this, the detail is just too tiny for a tired old human eye. The paperclip was used to push against the stone from underneath to ensure it wouldn't just pop out.

So - anyone able to suggest a fix for the groove that's too deep? Apart from that I think we might be on the home straight ...
 
Warning! This thread has not had any replies for over a year. You are welcome to post a reply here, but it might be better to start a new thread (and maybe include a link to this one if you need to).
Top