Pierre
Graduate Member
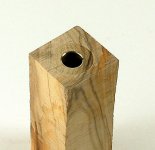
I always use gorilla glue and sand the tubes with 80 grit sandpaper (when the tubes are extruded they use an oil to allow the tube to move down the extrusion bit so you have to remove this excess oil and create keyways to hold the glue) , gorilla glue does like humidity to set, so I blow down the tubes to remove any dust and to dampen the inside. I apply the glue to the tube in a spiral and insert one end into the blank twisting it to spread the glue then the same end into the other end of the blank again twisting it to spread the glue around. Any excess glue I slice off with a Stanley knife, when its dry, and I always use a barrel trimmer (but I do sharpen mine with a file) . I don't have any tube slippage. Much also depends on your climatic conditions ie here when it is zero degrees I keep the glue in the house because it does not like the cold. Gorilla will fill any gap up to 1mm in my experience. When I turn I always turn at 3500 rpm from the outset this reduces the 'air' time created with the corners of the square blank (just as you would with a winged box).
PG
PG
 ), I’ll order from the link someone kindly gave me for eBay UK as I’ll be home in sunny Hertfordshire for Christmas.


 heers - Jim
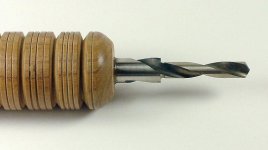


 :waver: